Ok, does anyone else feel like they are drying out this Fall? I know Winter doesn’t technically start until around December 21, but good lord why is it so cold already?! There has already been snow down here in the South! (ノ◕ヮ◕)ノ*:・゚✧
Oh well, I’m just going to turn this into an opportunity to become an ice princess! o(≧o≦)o
Step one: Nails!
I’m sure I’m not the only one having issues with cuticles right now. It seems like an uphill battle to keep my hands hydrated. Admittedly, I don’t always keep up with my nails as well as I should, but I have a pretty good routine for getting them all lovely and manicured.
In order to prep your parched, neglected hands and bring them up to the the pampered beauties you deserve, here are a few easy steps.
1. Tools
It’s always important to have the proper tools to maintain delicate, blue-blood hands.
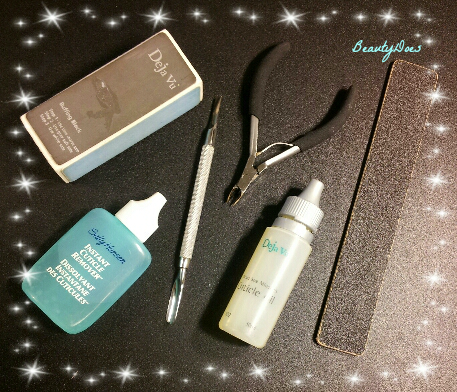
Basically, you will need:
- Cuticle remover or softener
- A cuticle pusher
- Cuticle cutters
- A nail file
- A buffing block
- Cuticle oil
Not to bad, right?
2. Prepping your hands
I’ve found that it is muuuch easier to remove/push cuticles that are moisturized. Get yourself a moisturizing hand cream and go to town!
If you don’t have a good hand cream, you can always steal some snail cream if you have it lying around. Yes, it is amazing for your face, but think of the anti-aging benefits for your hands! The hands are the first to age because we often forget about them or wash them too often to maintain the moisture levels necessary to stave off the evils of wrinkles.
Let your hands absorb the hand cream for about 10-15 minutes before you move on to step 3.
3. Cuticle Treatment
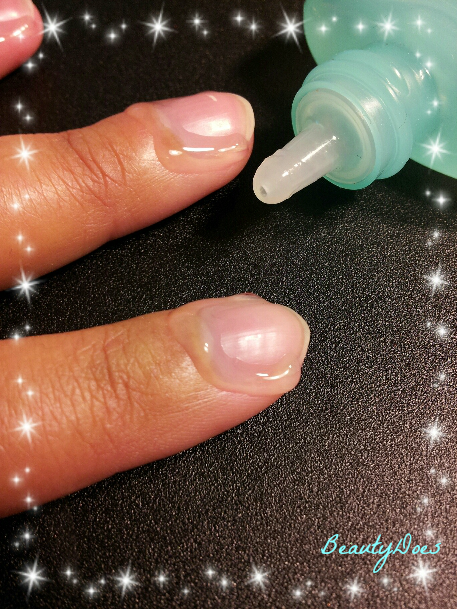
Apply cuticle remover/softener to the outside rim of the nail bed. You will only need to keep this on for about 1 minute before you move on.
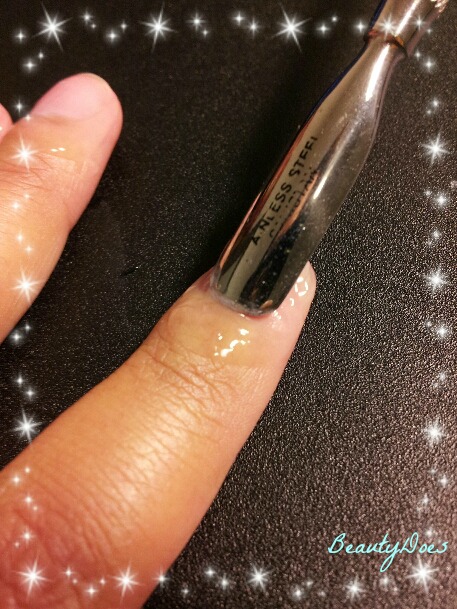
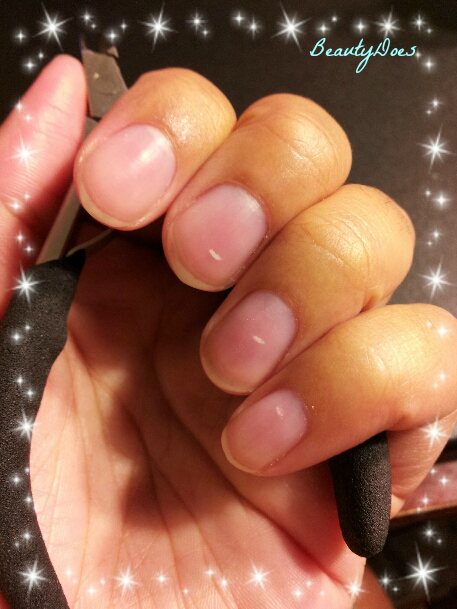
After you’ve let it sit, gently push the cuticles back. This shouldn’t hurt! It’s easy to get a little over-excited and hurt yourself with these cuticle pushers. Especially the metal ones!
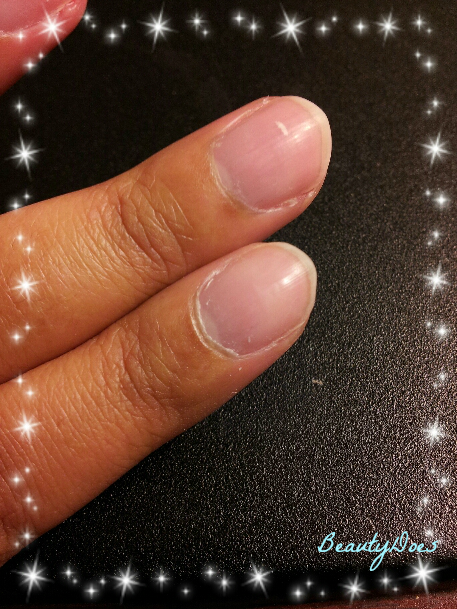
The cuticle pusher will lift the loose cuticle if it needs to be trimmed. If your cuticles don’t look like this then you won’t have to trim them. Congratulations, you have healthy nails! 😉
4. Trimming the Cuticles
Again, this is an optional step. If you push your cuticles back regularly, you probably will never have to trim them unless you happen to get a hang nail.
You should be extremely careful when you use the cuticle cutters! It is easier than you think to take off healthy skin. That’s why the first step of moisturizing is so necessary. It will prevent the healthy skin from being lifted along with the dry, dead cuticle.
When you’re done, it will look like this:
Much better! (≧◡≦)
Alrighty, on to the next step!
5. Shaping the Nails
I’m learning how to play guitar so I have to keep my princess nails short. How sad!
Does anyone else recall the Angela Johnson sketch about the nail salons? Does this mean I will be single forever? (◑‿◐)
Probably not! Who can resist guitar players?!
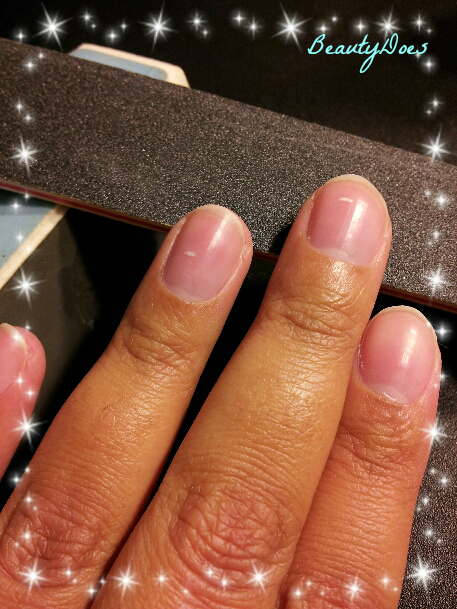
Anywho, be sure to file from the outside to the inside of each nail. This will prevent any breakage as it grows.
As far as shape goes, I like to keep mine at a nice oval shape. I know square is pretty popular as well. Do you have a personal preference? Let me know down below.
6. Smooth the Nail Plate
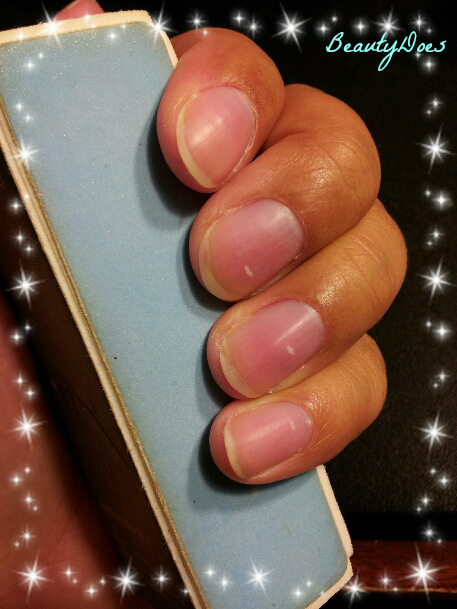
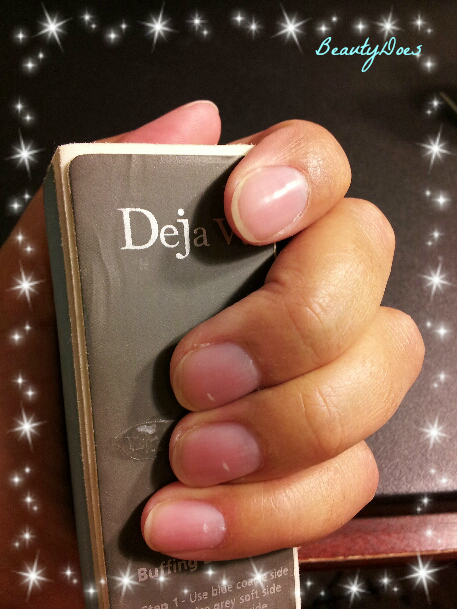
I like to use these buffing blocks to make sure that my nail plate (the exposed nail) is nice and smooth after pushing back my cuticles and filing. On this one you use the blue to file, grey to smooth, and white to polish. If you are using one like this, it’s good to stop after the grey. Nail polish has a hard time sticking if you polish your nail plate.
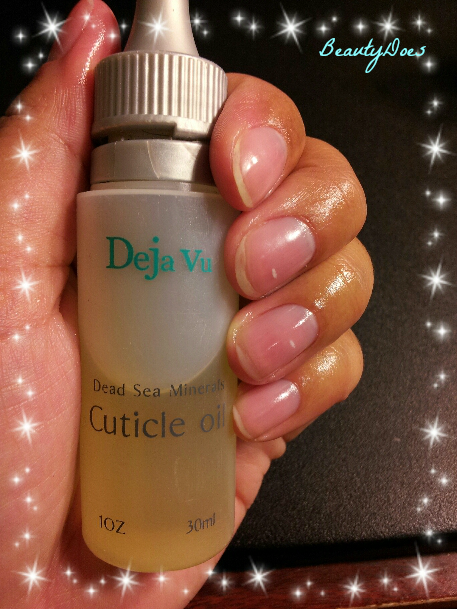
7. Moisturize Your Newly Beautified Cuticles!
You have reached the last step! After using a cuticle oil, you have officially created the perfect base for a manicure worthy of an ice princess!
Congratulate yourself, you’ve worked hard! ᕦ(ò_óˇ)ᕤ
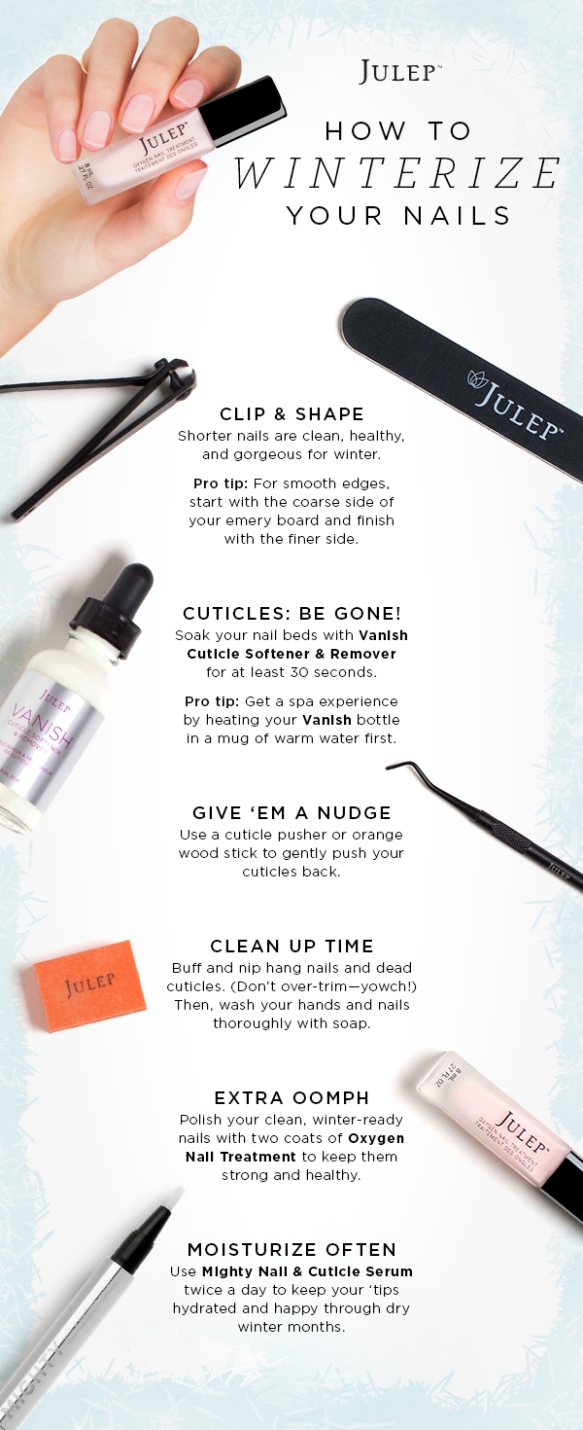
If your looking for some good tools, here’s a guide from an awesome online store called Julep.
And this is the fun part!
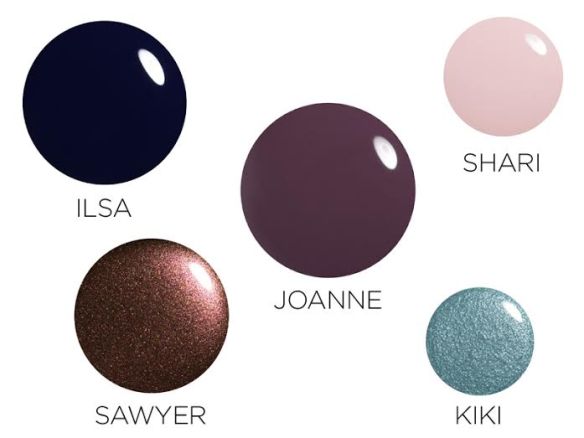
Basically you can do whatever you want, there are a lot of options for nails this Winter. Of course, the most trendy colors are light, cool colors and deep jewel tones. These are some really pretty colors from Julep.
They’ve got some other really pretty colors available here.
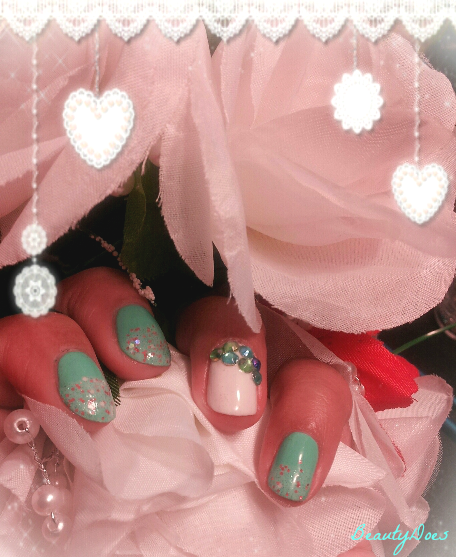
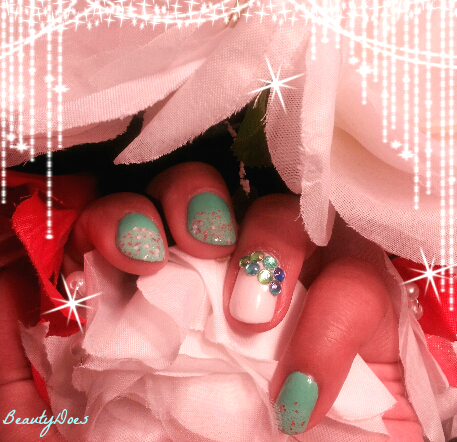
I happened to be in the mood for something light today.
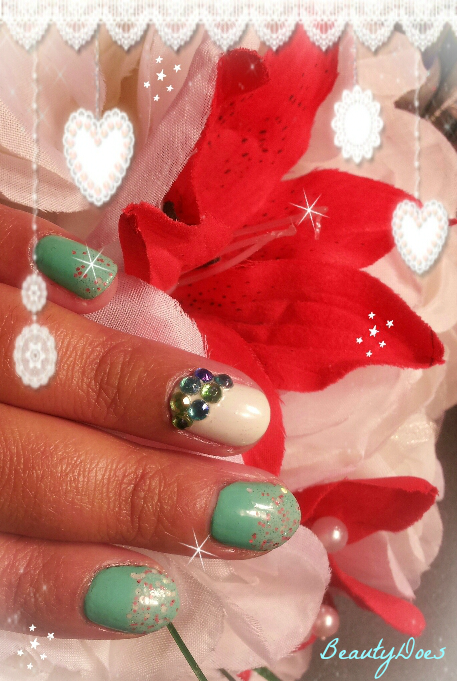 In retrospect, it reminds me more of a Christmas mermaid, but who’s judging.
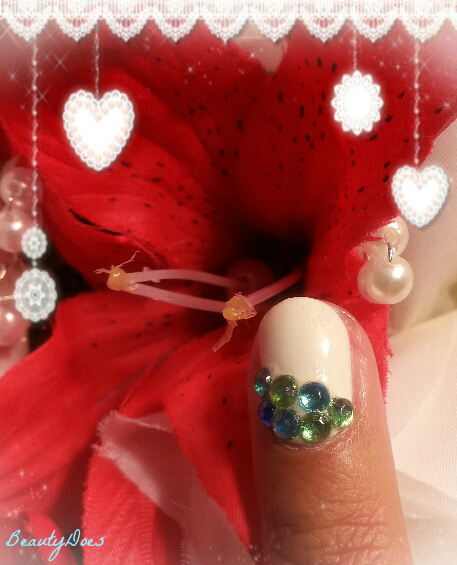
This is my favorite nail by far! I love using little gems on my nails. It adds to the princess effect ^_^.
You can create this look with the following nail polished available at Julep:
I know I’ll definitely be trying to give as much attention to my hands and nail as I do to my skin this Winter if my nails will always look this adorable!
Of course, the purikura helps ^_^.
This post was in partnership with Julep. I was not paid and these are my honest opinions.

Your nails look really pretty, totally ice princess! X
LikeLike
Thanks! I’m glad they didn’t turn out looking too mermaid-like. 😉
LikeLike
Hi! I nominated you for the Liebster award. 😉
LikeLike
Thank you so much! ❤
LikeLike
Excellent nail-care tutorial! Thanks for sharing your tips and tricks and creative mani! :0) BTW- I’ve emailed BB two more times with no reply. This is so frustrating. I wonder how I can get the word out to see if other Birchbloggers are having the same problem. ??
LikeLike
Thank you ^_^!
Oh my goodness! That’s just crazy!
LikeLiked by 1 person
Hi, Natalie! A couple weeks ago Birchbloggers told me they were going to ship your items. I’m just curious if they did. ??
LikeLike
If they have, I haven’t received it yet. But at least we’ve heard from them! That’s exciting haha
LikeLiked by 1 person
I know right?! It should have been here by now though, I think. I’ll shoot them another email to see if it has gone in the mail. I’m SO sorry this has been such a long drawn out thing. Not cool at all.
LikeLike
Maybe it got backed up with all the holiday nonsense? I know you’ve been trying to communicate with them the whole time. ^_^
LikeLiked by 1 person
Blinging nails is always the way to go!
LikeLike
Right?! They always make me feel lovely haha
LikeLike
Hey!! I’ve nominated you for the Versatile Blogger Award! Hop over to my blog for more details!
http://sonalhira.wordpress.com/2015/01/10/the-versatile-blogger-award/
xxx
LikeLike
Thank you so much! I appreciate that more than I can communicate properly haha ❤
LikeLiked by 1 person
Hey there! I wrote about you in my latest blog post:) Check it out here: thatchicfashionblog.wordpress.com/2015/01/19/this-is-why-youre-awesome-takebackwhatsyours-2/
LikeLike
Thank you so much! I will check it out. This looks really interesting from just the url 😉
LikeLiked by 1 person